Key Takeaways
- React Native offers a cost-effective solution for cross-platform mobile app development.
- Rapid development and deployment are achieved through features like hot reload and reusable components.
- A robust community and ecosystem support scalable and innovative app solutions.
- Choosing the right development partner is crucial for aligning with your business goals.
- Successful case studies from major organisations highlight React Native’s effectiveness in large-scale applications.
Introduction: Why Choose React Native for Your Mobile App Development?
In today’s digital landscape, app development with React Native is more than just a trend; it’s a strategic advantage for businesses aiming to broaden their market reach and boost customer engagement. According to WotDev, React Native stands out in 2025 for its ability to provide rapid, cost-effective, and scalable solutions in mobile app development. This post delves deep into the benefits of using React Native, offering detailed insights and actionable steps to create apps using React Native effectively, aligning with both commercial and transactional goals.
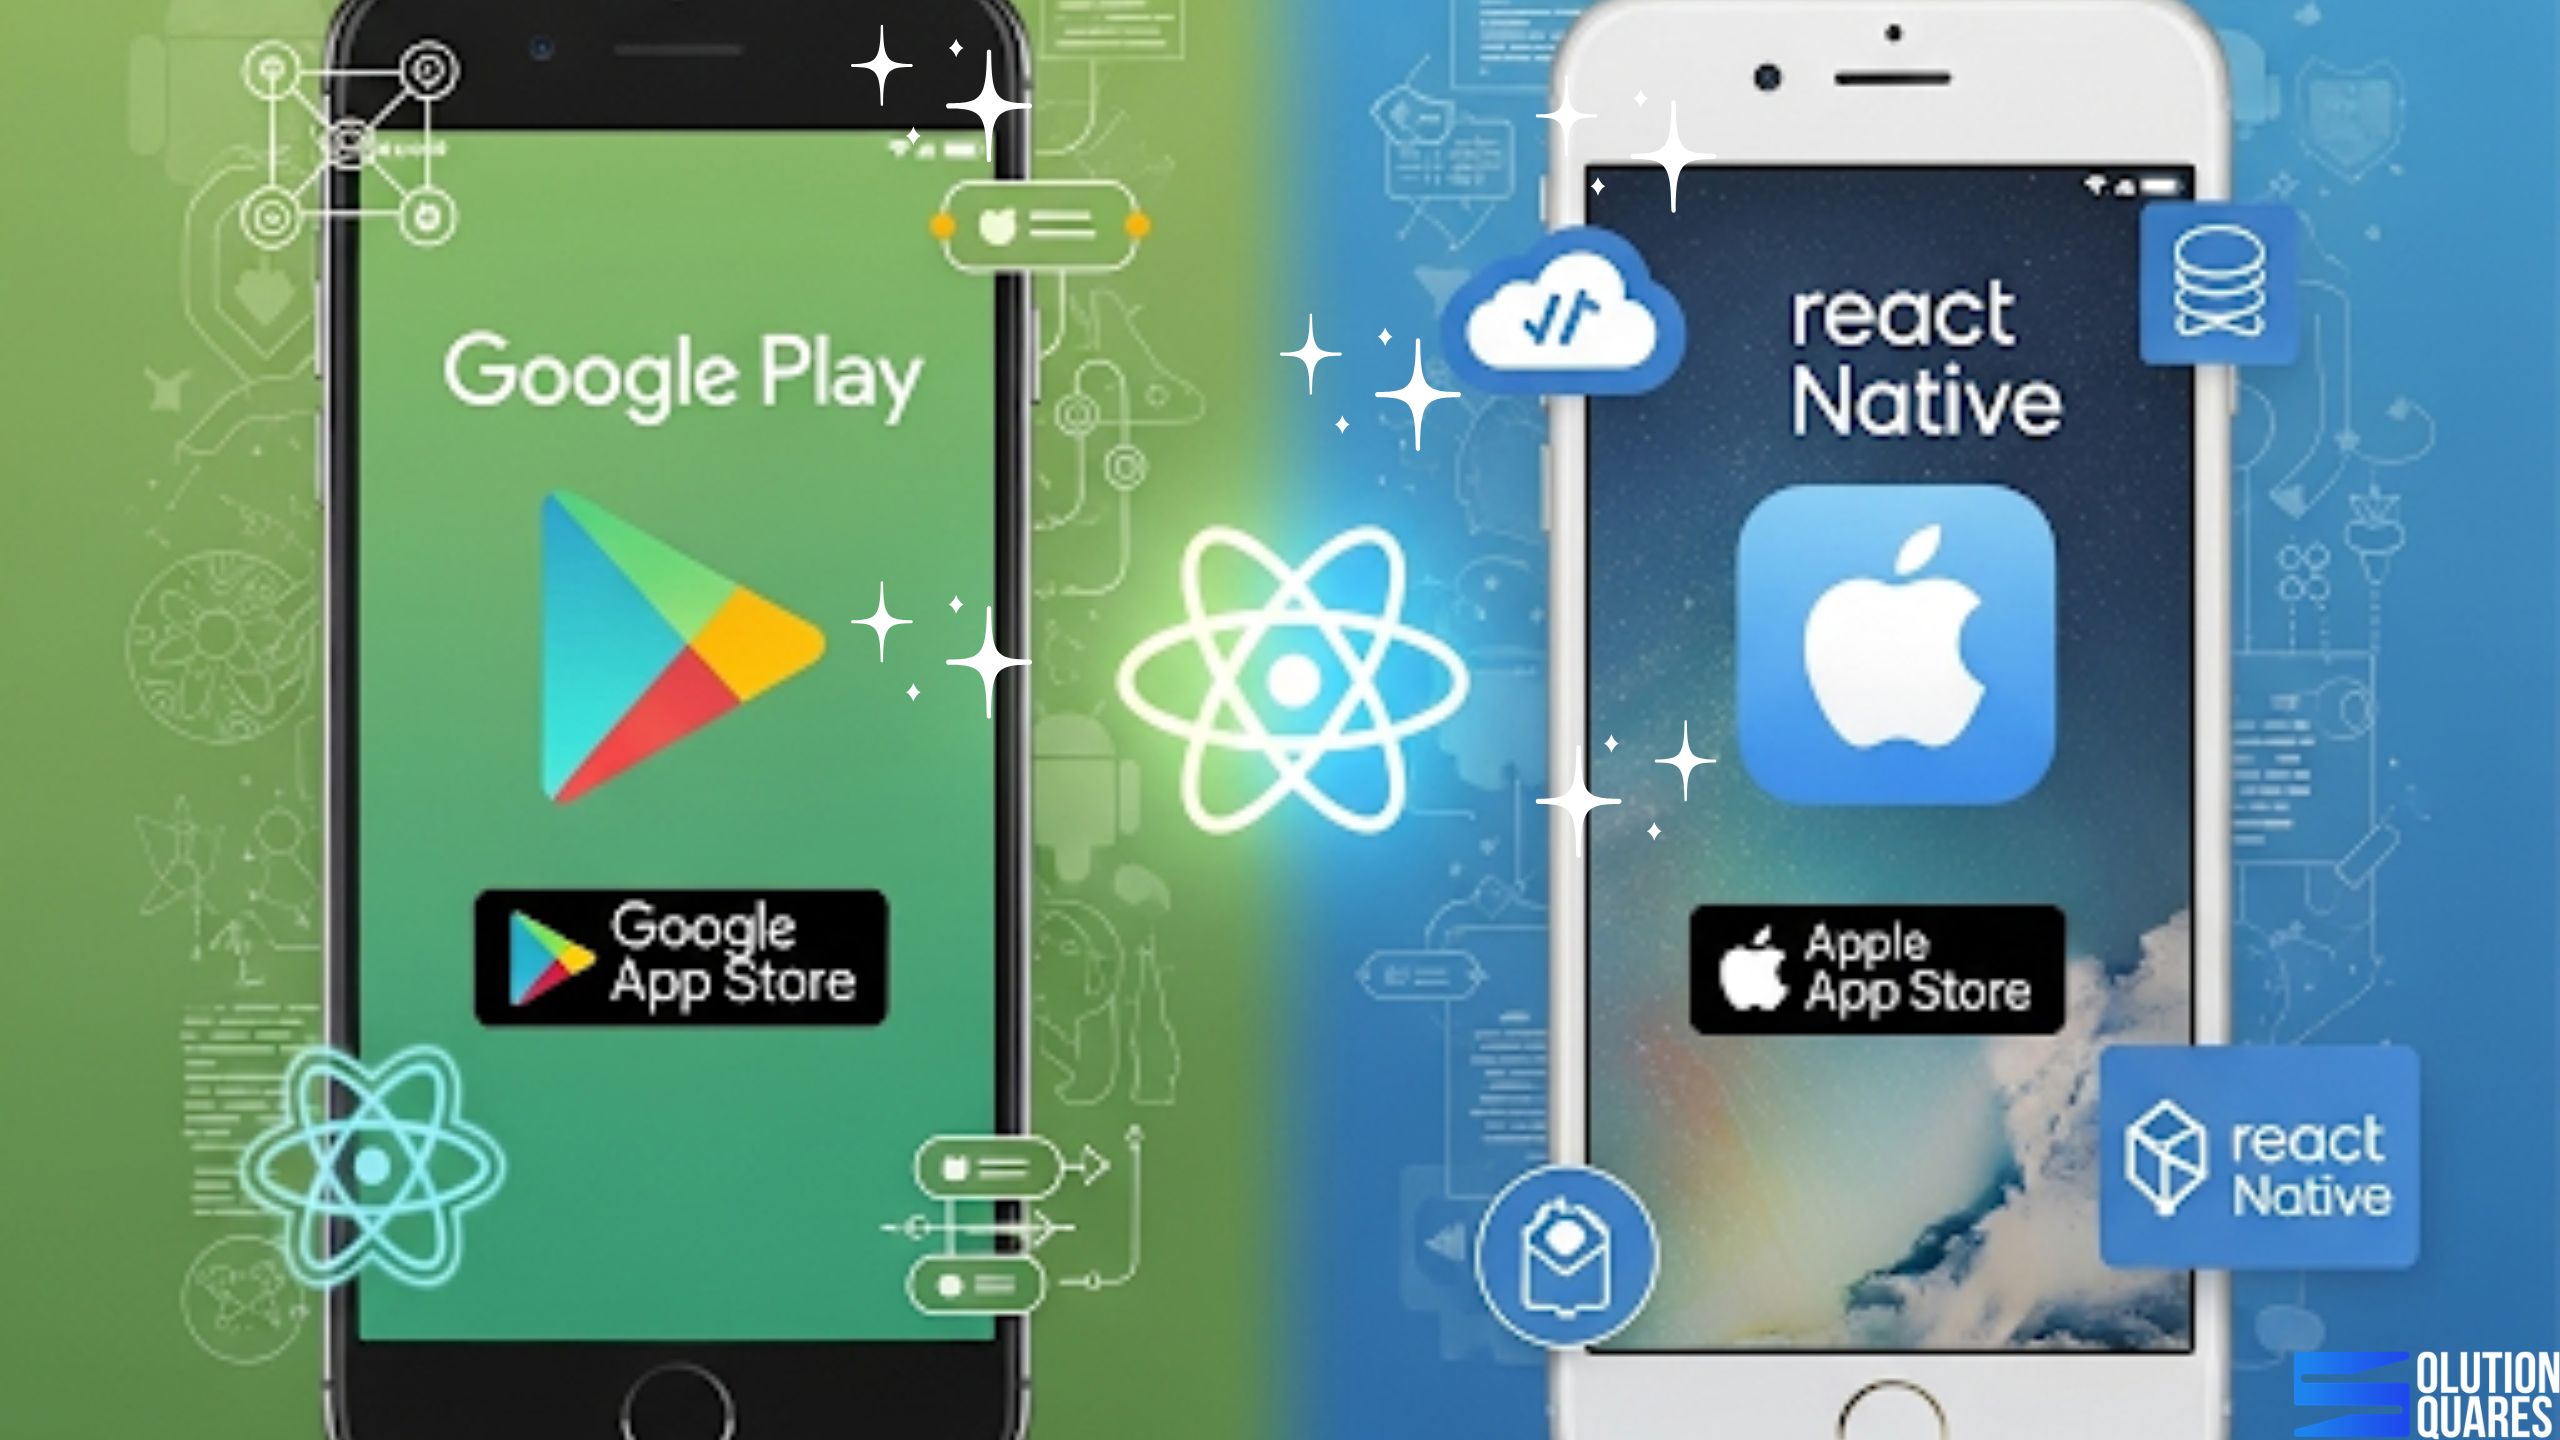
What is React Native?
React Native is an exceptional open-source framework initiated by Facebook. It enables developers to construct cross-platform mobile apps using JavaScript, which translates into native code, offering near-native performance. Here’s why it’s a top contender against other frameworks like Flutter and Xamarin:
- JavaScript to Native Bridge: Uniquely designed to convert JavaScript components into native code, enhancing performance and integration with native device functionalities.
- Cost and Efficiency: The ability to use a single codebase for both iOS and Android platforms significantly cuts down development time and costs.
For an in-depth comparison and history of React Native’s evolution, check out Hicron Software and this comparison.
Benefits of App Development with React Native
React Native is not just popular; it’s highly effective due to its several advantages:
- Cost-Effectiveness: Leveraging one codebase across multiple platforms reduces both development and maintenance expenses significantly. More details on these savings can be found at WotDev and TekRevol.
- Cross-Platform Capabilities: Simultaneous development for both iOS and Android platforms shortens the development cycle and broadens market reach (Source: TekRevol).
- Faster Development and Deployment: With features like hot reload and reusable components, developers can iterate rapidly, debug effectively, and market quicker (Further reading: TekRevol).
- Robust Community and Ecosystem: A strong support community and a rich library of resources promote scalable development and innovation (WotDev).
Learn more at Solution Squares and their custom software development services.
How to Create Apps Using React Native
Creating apps with React Native is streamlined into a few actionable steps, which we detail below:
- Setting Up the Development Environment: For a smooth start, install Node.js, React Native CLI, and the relevant SDKs. Detailed guide available at TekRevol and Solution Squares.
- Designing the User Interface: Utilize React Native’s UI components to ensure consistency and intuitive user interfaces across platforms. More on this at TekRevol.
- Implementing Functionality and Integrating APIs: JavaScript enables the integration of business logic and network interactions. Tools like Axios for API calls and Redux for state management are essential (TekRevol and SolutionSquares).
- Testing and Debugging: Tools like React Native Debugger and Flipper are invaluable for maintaining high-quality software (TekRevol).
- Deployment to App Stores: Guidelines for publishing your app on various stores can be streamlined using tools like Fastlane and Bitrise for CI/CD implementations.
Case Studies: Mobile App Success Stories with React Native
Major organizations such as Facebook, Instagram, and Walmart have successfully harnessed the power of React Native, witnessing enhanced performance and faster feature iterations (Brainhub and WotDev). These case studies highlight the practical applications and real-world effectiveness of React Native in large-scale scenarios.
Choosing the Right Partner for Your React Native Mobile App Development
When selecting a development partner, prioritize experience in React Native and a proven track record. It’s important to review portfolios and evaluate their technical skills, customer feedback, and support services for post-launch phases. For an in-depth guide on selecting the right partner, visit TekRevol and Solution Squares.
Conclusion: Taking the First Step Towards React Native App Development
Embracing React Native for your mobile app development is not just about following a trend—it’s about making a strategic decision that aligns with your business objectives to drive growth and customer engagement. Review the significant cost-benefits, robust community support, and cross-platform capabilities that React Native offers.
Ready to start your mobile app project with React Native? Reach out today for a consultation and let us help you turn your vision into reality.
Explore more about React Native and enhance your knowledge through the official documentation and getting started guides. Equip yourself with the right tools and insights to ensure your app’s success in the competitive market.
Frequently Asked Questions
1. How much does it typically cost to develop a mobile app?
The cost can range from $5,000 for a simple app to over $300,000 for a highly complex app, depending on various factors like design complexity, features, and development platform.
2. How long does it take to develop a mobile app?
The development timeline can vary from a few months to over a year, depending on the app’s complexity and the development process.
3. Should I choose native or hybrid app development?
If performance and access to device-specific features are critical, native development is preferable. If budget and development speed are priorities, hybrid development may be suitable.
4. What are some cost-saving strategies for app development?
Prioritizing features for an MVP, utilizing cross-platform development, and outsourcing to cost-effective regions are effective strategies to manage costs.
5. Why is ongoing maintenance important for my app?
Regular maintenance ensures your app remains competitive, secure, and compatible with the latest devices and operating systems.