

Comprehensive Guide to Setting Up React Native:
- Learn how to install React Native using both CLI and Expo.
- Configure the development environment for both Android and iOS platforms.
- Discover best practices for maintaining and troubleshooting your React Native setup.
Introduction
React Native is a powerful open-source framework that enables developers to build high-quality, cross-platform mobile applications using JavaScript and React. Properly setting up React Native is crucial for a smooth development experience, ensuring reliability and leveraging platform-specific features effectively. In this comprehensive guide, we will walk you through how to set up React Native, install React Native tools, and configure your React Native environment for both Android and iOS development.
React Native allows developers to build high-quality, cross-platform mobile applications using JavaScript and React. Setting it up properly is crucial for smooth development, efficient debugging, and faster builds. This guide will walk you through the installation and configuration process step-by-step.
Why Agencies Choose React Native Setup Services
- Faster Development – Build for iOS and Android simultaneously.
- Cost-Effective – One codebase reduces resource and budget requirements.
- Scalability – Easily integrate with APIs, databases, and third-party tools.
- Future-Ready – Stay aligned with the latest mobile development trends.
Our React Native Setup Services for Agencies
-
Environment Configuration (Node, npm, Watchman, Android Studio, Xcode setup)
-
Project Initialisation with best practices
-
Folder Structure Optimisation for scalability
-
Third-Party Library Integration (UI kits, APIs, databases)
-
Testing & Debugging Tools Setup
-
Version Control Integration (GitHub/GitLab/Bitbucket)
-
CI/CD Pipeline Setup for seamless deployment
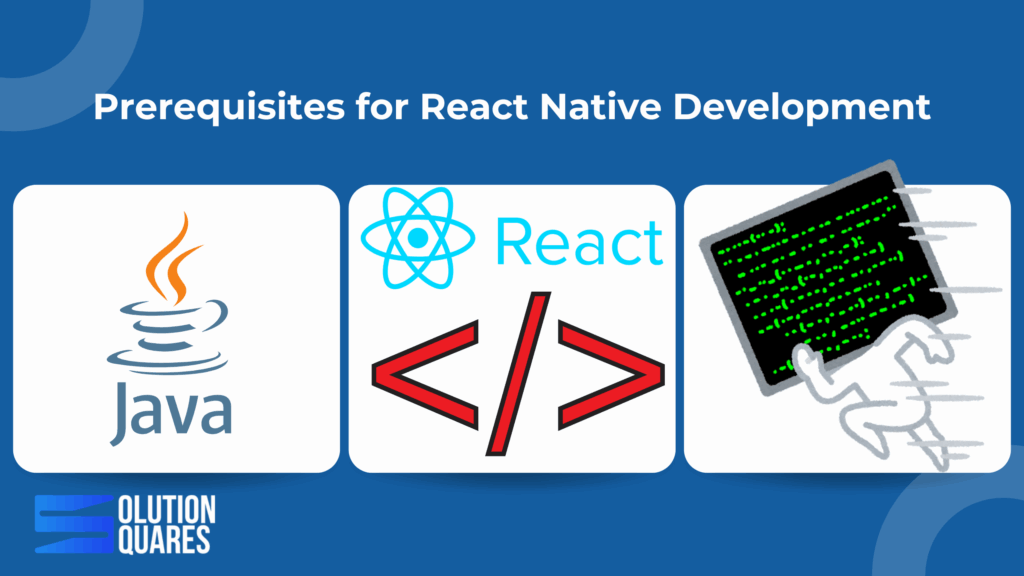
Prerequisites for Setting Up React Native
Before you dive into the React Native setup, ensuring you have the correct software and tools is essential. This section outlines everything you need to prepare. Learn more.
Required Software and Tools
- Node.js and npm/yarn: Node.js is a JavaScript runtime, essential for running JavaScript outside the browser, while npm and Yarn are popular package managers for managing JavaScript projects. Make sure to install the latest LTS version of Node.js along with npm or Yarn.
- Java Development Kit (JDK): The JDK is crucial for compiling Android applications. Download and install the JDK to facilitate Android app development.
- Watchman: Especially recommended for macOS users, Watchman is a tool developed by Meta for watching file changes, which can significantly speed up the development process by efficiently managing file changes.
- Android Studio: This is the official IDE for Android development, necessary for both developing and emulating Android applications.
- Xcode (macOS only): If you plan to develop for iOS, installing Xcode is necessary as it provides the necessary tools and environment to build iOS applications.
System Requirements by Operating System
- Windows: Supports only Android development. It’s not possible to develop iOS applications on Windows.
- macOS: Supports both Android and iOS development, offering a more flexible development environment.
- Linux: Like Windows, it supports only Android development.
For more details on setting up your environment, refer to detailed resources and tutorials here and here.
Installing React Native
You have two main paths to install React Native: using the React Native CLI for a more traditional native experience, or using Expo for a simplified, abstracted setup.
Step-by-Step Guide to Installing React Native CLI
- Install Node.js: Download the LTS version of Node.js from the official website and verify the installation by executing
node -vandnpm -vin your terminal. - Global Installation of React Native CLI (Optional): Though not necessary due to npx, you can install the React Native CLI globally using:
npm install -g react-native-cliAlternatively, use npx to run CLI commands without a global installation. For more details, refer to the guide here.
Alternative: Using Expo for Faster Setup
For beginners or those looking for a quick start, Expo provides an alternative way of setting up React Native. Initialise your project using:
npx create-expo-app@latestExpo simplifies the setup process by managing native configurations behind the scenes. Learn more about using Expo in this video tutorial.
Verifying the Installation
- For React Native CLI: Check the installation with
react-native --version. - For Expo: After initialising, start your project with
npm startornpx expo start, which will launch the project in Expo Go, as demonstrated in this tutorial.
React Native Environment Setup
Setting up your development environment properly is essential for both Android and iOS platforms to ensure that everything runs smoothly.
Configuring the Development Environment for Android
- Install Android Studio and Android SDK: Available on the official website, these tools are essential for Android app development.
- Set Up Emulator: Use the AVD Manager in Android Studio to create a virtual Android device.
- Set Environment Variables: Configure your machine to recognise the Android SDK by setting the
ANDROID_HOMEand updating your PATH. For detailed guidance, see the documentation here.
iOS Setup (macOS Only)
- Install Xcode: Available via the Mac App Store, required for iOS app development.
- Configure iOS Simulator: This can be done inside Xcode by downloading components for your desired iOS versions. Learn more.
Creating Your First React Native Project
Whether you choose the React Native CLI or Expo, starting your first project is straightforward. Find out how.
Using React Native CLI
To start a new project, run:
npx react-native init MyNewProjectReplace MyNewProject with your desired project name.
Using Expo
Expo can be used for quicker setup:
npx create-expo-app@latest MyNewProjectThis command creates a new project with all required dependencies and directories.
Common Setup Issues and Troubleshooting
Setting up a development environment can sometimes lead to issues, such as the wrong Node.js version, JDK issues, or improperly set environment variables. Always ensure your setup aligns with the official React Native environment setup documentation. For more complex issues, the React Native community on platforms like Stack Overflow and GitHub can provide invaluable help. Additionally, refer to our comprehensive Troubleshooting Guide.
Best Practices for Maintaining Your React Native Setup

Keep all dependencies up-to-date and use environment-specific configurations to manage different stages of development. Regularly cleaning your project and managing dependencies efficiently can avoid common problems and performance issues.
Conclusion
By following this guide, you’ve learned how to set up React Native, install necessary tools, and troubleshoot common issues. With your environment ready, you can now start building robust, cross-platform applications using React Native. Dive deeper into its features, explore third-party libraries, and start building amazing applications!
For further reading and resources, check the React Native documentation and keep engaging with the community to enhance your development skills.
Frequently Asked Questions
1. Do all agencies need the same React Native setup?
No. Each agency has unique requirements depending on client industries, integrations, and scale. We provide a customised setup based on your workflow.
Q2. How long does it take to set up React Native for a new project?
Typically, 2–5 days depending on integrations, CI/CD requirements, and team size.
Q3. Will you also provide documentation after setup?
Yes. We deliver step-by-step documentation so your team can easily continue development.
Q4. Can you integrate third-party tools like Firebase or Stripe during setup?
Absolutely. We configure popular services and APIs during the setup phase to save time later.
Q5. What if my agency has ongoing projects?
We can audit and optimise your existing React Native setup to improve performance, scalability, and maintainability.
Q6. What kind of ongoing support do you provide after the app is launched?
We provide comprehensive post-launch support and maintenance services, including bug fixes, performance monitoring, security updates, and feature enhancements. We ensure your clients’ apps remain secure, up-to-date, and performant in the long term.
Q 7. How do you handle client communication and project transparency?
We believe in a collaborative and transparent approach. Our clients get access to our project management dashboards, where they can track progress, review deliverables, and provide feedback in real time. We also schedule regular meetings to discuss project status and next steps.