

Key Takeaways
- Unified Codebase: React Native allows developers to build high-performance mobile apps for both iOS and Android using a single JavaScript codebase.
- Optimised Performance: Proper code optimisation, including minification and obfuscation, significantly enhances app responsiveness and reduces size.
- Up-to-Date Dependencies: Keeping all dependencies current ensures compatibility and smooth runtime performance.
- Environment Configuration: Correctly setting environment variables is crucial for platform-specific configurations.
- Robust Deployment Process: Following a structured deployment process, including thorough testing, ensures a successful app launch.
- CI/CD Integration: Implementing Continuous Integration and Continuous Deployment pipelines automates and streamlines the development workflow.
- Post-Deployment Monitoring: Continuous monitoring and analytics are essential for maintaining app performance and reliability.
Overview of React Native
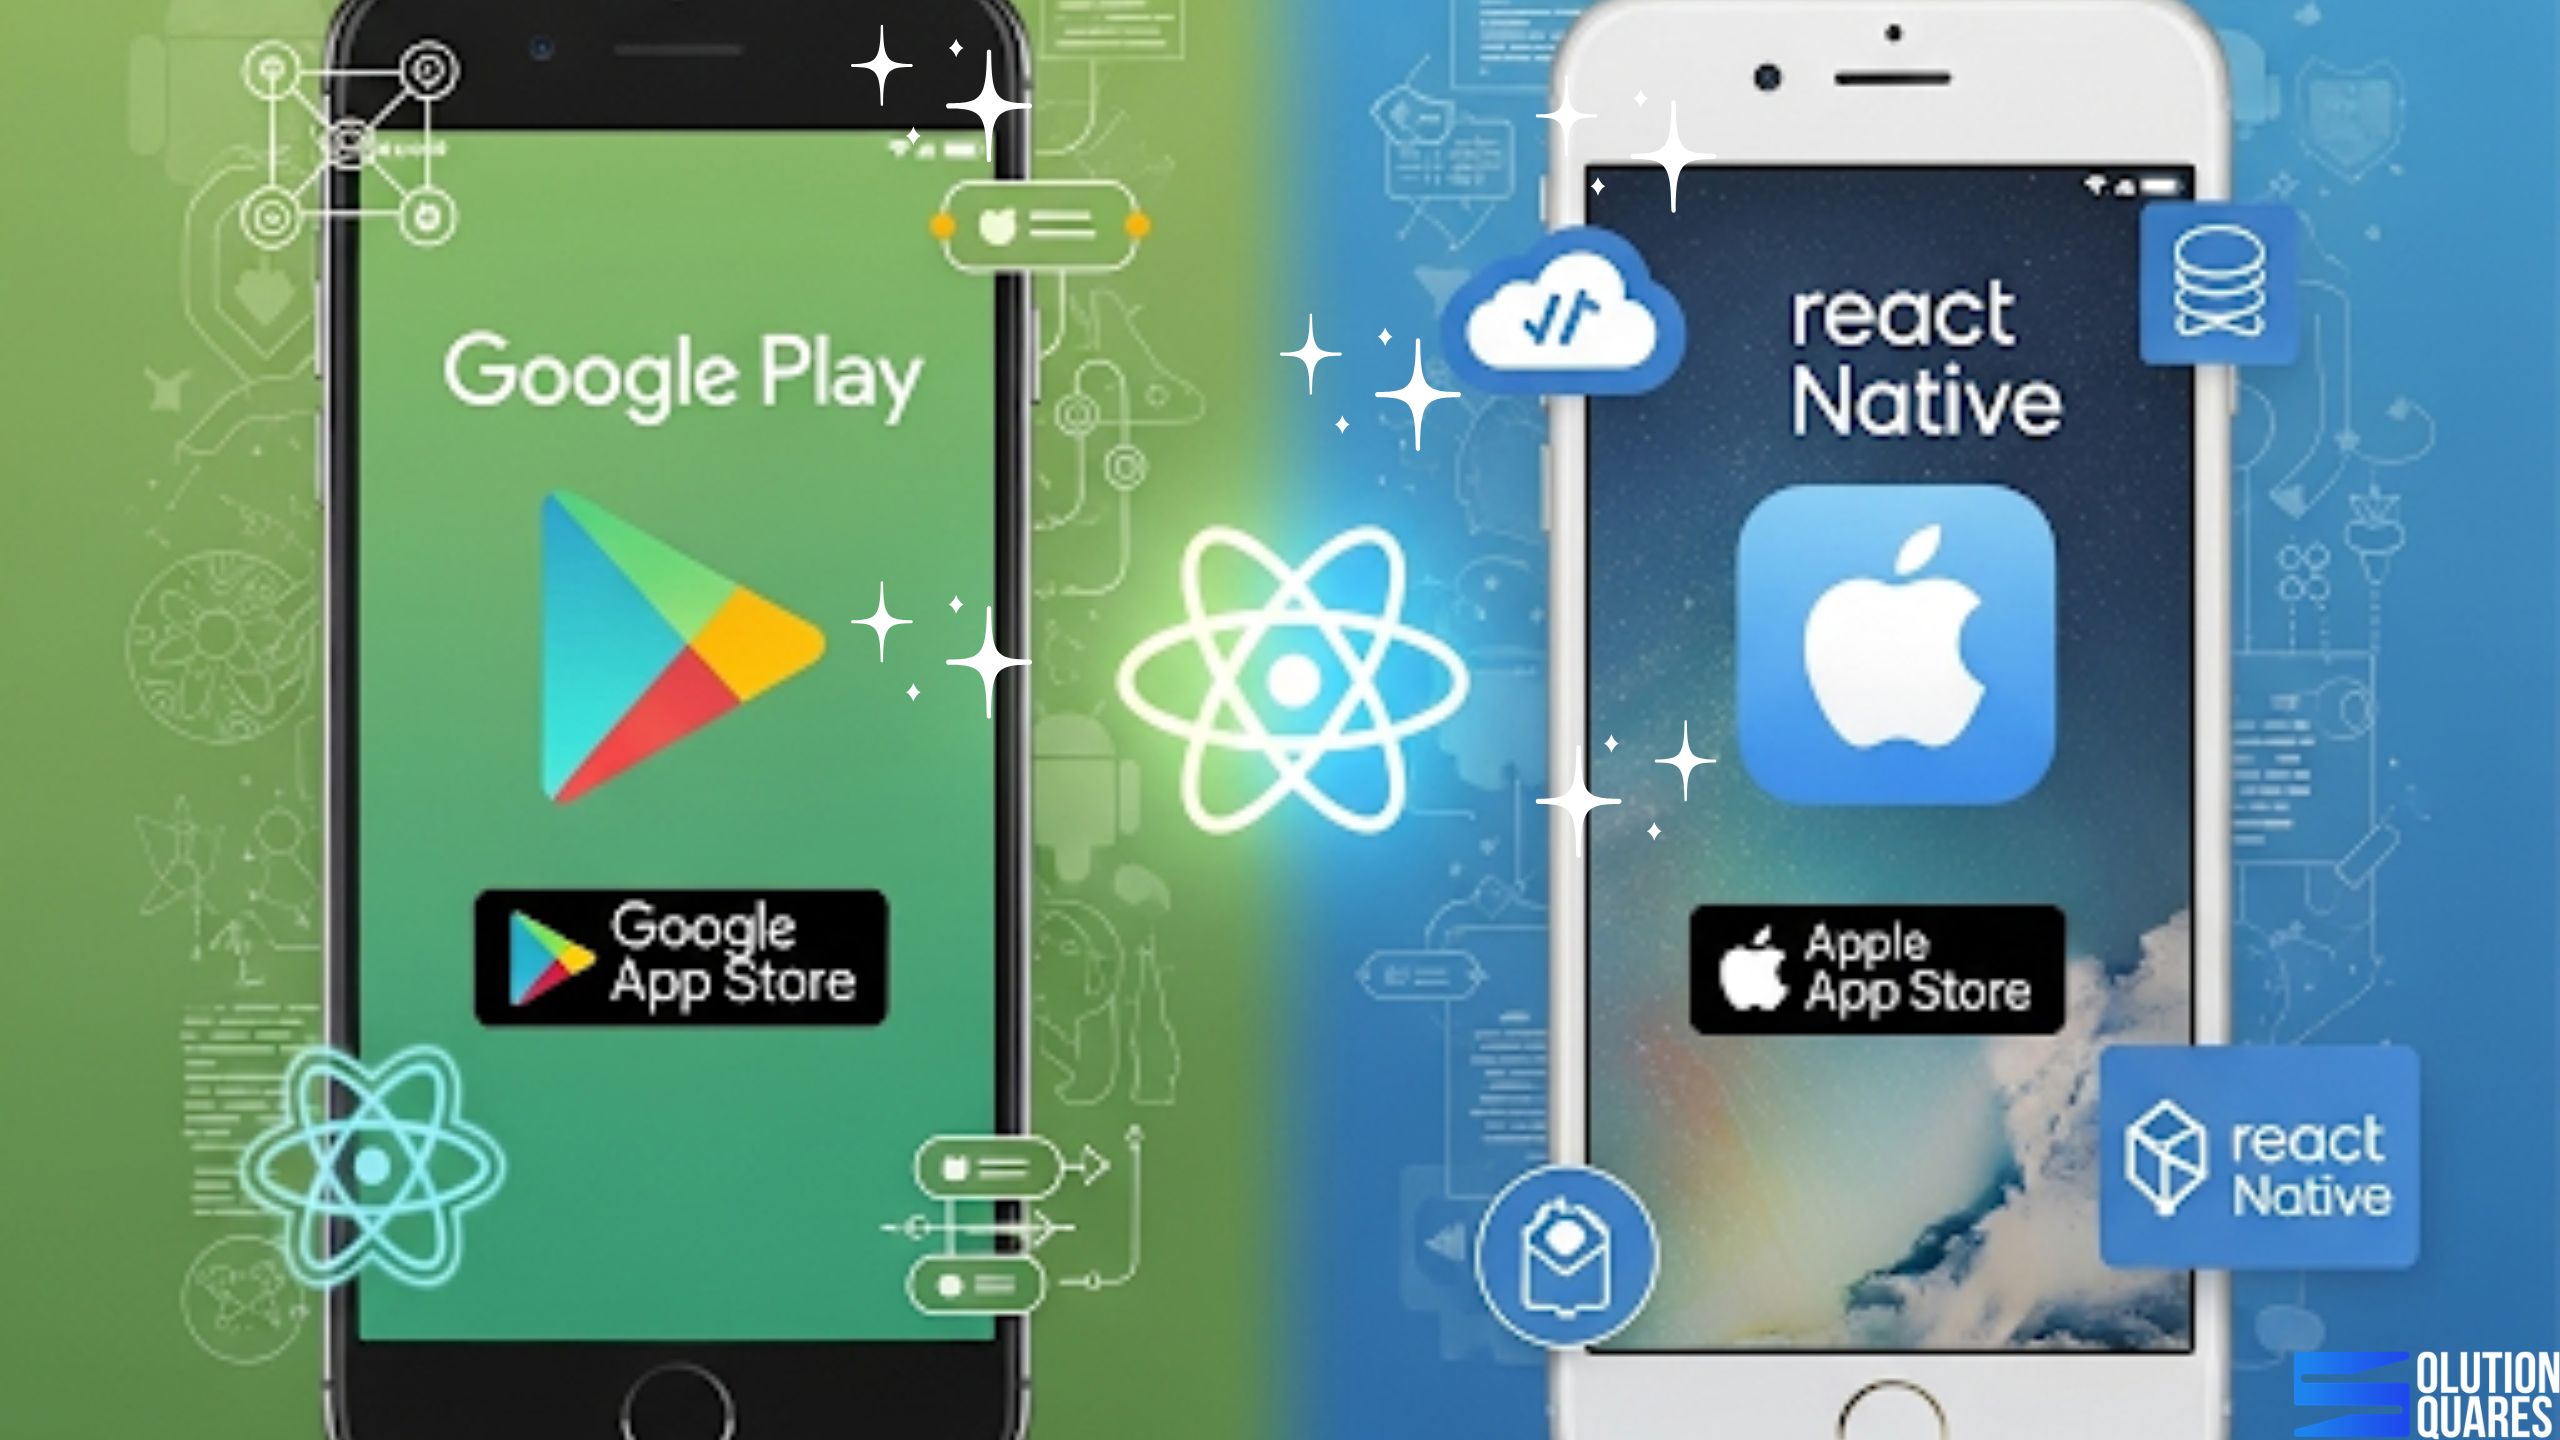
React Native is an influential open-source framework used globally. It empowers developers to create high-performance mobile apps for both iOS and Android from a unified JavaScript codebase. This feature catapults React Native to the forefront for developers interested in crafting apps with consistent user experiences across multiple platforms while diminishing development times significantly.
Why Optimisation Matters Before Deployment
A poorly optimised app can lead to:
-
Slow load times → Resulting in higher uninstall rates.
-
Memory leaks & crashes → Damaging client reputation.
-
App store rejections → Delaying project timelines.
According to a Statista report (2024), 70% of users abandon apps if they take more than 3 seconds to load. For agencies, this means optimisation is not optional—it’s essential.
Key Steps for Optimising a React Native App
-
Reduce Bundle Size
-
Use tools like the Hermes engine to improve startup performance.
-
Remove unused packages and images.
-
-
Improve Performance
-
Leverage FlatList instead of ScrollView for large datasets.
-
Use memoisation (
React.memo,useCallback) for rendering efficiency.
-
-
Enhance Security
-
Use environment variables for API keys.
-
Enable SSL pinning for sensitive apps.
-
-
Test Across Devices
-
Simulate iOS and Android environments.
-
Automate testing with tools like Detox and Jest.
-
Deployment Checklist for Agencies
- Prepare the App Store & Play Store Accounts – Ensure your client has active developer accounts.
- Configure App Icons & Splash Screens – A consistent brand experience is crucial.
- Generate Release Builds – Use
gradlew assembleReleasefor Android and Xcode archive for iOS. - Code Signing & Certificates – Secure deployment with correct provisioning profiles.
- Continuous Integration (CI/CD) – Automate build pipelines using GitHub Actions or Bitrise.
- Post-Deployment Monitoring – Use tools like Firebase Crashlytics for error tracking.
Importance of Deploying a React Native App
Deploying your React Native app is pivotal. It enables your application to reach a vast audience, delivering the intended functionality and seamless user experience on their devices. The success of its deployment is closely tied to these goals, ensuring the app performs optimally in live environments.
Deployment of a React Native App refers to the process of:
-
Building your app into a final, production-ready version (APK for Android or IPA for iOS).
-
Uploading it to app stores like the Google Play Store or Apple App Store.
-
Making sure it runs properly on real devices.
-
Optionally, hosting backend services or APIs that your app depends on.
In simple terms, deploying is the final step that takes your app from your computer to your users’ devices
Preparing Your React Native App for Deployment
After building your React Native App, it’s time to deploy it. You have built your application, developed and tested all features. Now it’s time for the next big milestone, Deployment. A React native application is a widely used framework as it offers a single code for cross-platform, such as iOS and Android.
Developing a React native application is easy, but deployment is a bit complex step to perform. Deployment is not about building and publishing your application. Deployment involves navigating platform-specific requirements, using the appropriate deployment tools, following app store guidelines, and meeting industry standards to avoid rejections or delays.
Optimising Your Code for Production
To start, it’s crucial to optimise your React Native app’s code before launching. Streamline your app by eliminating unused components and implementing techniques like minification and obfuscation. These steps significantly reduce your app’s size, making it quicker and more responsive for users.
Ensuring All Dependencies Are Up-to-Date
Ensure that your app’s dependencies are current to avoid any compatibility issues during runtime. Use package managers like npm or yarn to check and update your project dependencies as necessary.
Configuring Environment Variables for Different Platforms
Environment variables play a crucial role in setting up platform-specific configurations, such as API endpoints or credentials. For Android developers, make sure to set ANDROID_HOME and append platform-tools to your system PATH. For iOS, the configuration can be managed directly through Xcode settings.
How React Native App Deployment Works?
After coding your mobile application, deployment is the next crucial step to perform. Deployment includes steps such as packing, distributing, and publishing your app to end users via a platform like the Google Play Store or Apple App Store.
The beauty of React Native is that a single JavaScript or TypeScript codebase can be deployed to multiple platforms such as Android, iOS, Web, Windows, and macOS. To deploy your application, you must navigate specific configurations and toolchains.
Strategies for Deploying React Native Applications
Deployment of a React Native App gives you two different approaches:
- Managed Workflow
- Bare Workflow
Usually, a managed workflow is used with Expo. This key feature of realising your app with Expo without diving into Android Studio, Gradle, or native dependencies, Xcode. This approach will allow you to build your applications without worrying about the development and deployment complexities.
The bare workflow provides you with full access and control of your project details, platform-specific behaviour, third-party SDK integrations, and build optimisations. In this approach where you manage the entire native project yourself, without relying on managed services.

Creating a Release Build for React Native
-
Step-by-Step Guide to Generate a Release Build
Here is a step-by-step guide to generate a release build for a react native application:
-
For Android:
Generate a signed APK or Android App Bundle (AAB) using CLI or Expo EAS Build. These files are essential for the next steps in deploying your app to the Google Play Store (Bugsee Guide).
-
For iOS:
Utilise Xcode or CLI to archive and prepare your iOS app for release. This process includes the setup of necessary signing certificates and provisioning profiles (Comprehensive Guide to Building a React Native App for iOS).
Differences Between Debug and Release Builds
Release builds are optimised for your end-users, stripping away development tools and enabling performance enhancements not present in debug builds. Debug builds include additional tools to aid developers in testing and debugging during development phases.
Testing the Release Build Locally Before Deployment
It’s critical to test the release build on local or test devices. This helps catch any potential issues that could adversely affect user experience post-deployment (Bugsee Guide, React Native Publishing).
Deployment Steps for React Native Apps
After coding, developing features, building an application, and testing features, it’s now time for deployment.
Detailed Outline of the Deployment Steps
Deploying a React Native app involves several key stages that need careful attention to detail. First, configure your environment and credentials accurately for the intended platform. Following this, utilise platform-specific tools such as Android Studio or Xcode for building the app. Final steps involve signing the app and ensuring all configurations are verified to be correct across platforms (Bugsee Guide, 30 Days Coding).
Deploying a React Native App to the Google Play Store
-
Preparing Your App for the Play Store
Prepare your app by generating a signed APK or AAB. Set up a developer account on Google Play and populate your app’s listing with all the necessary metadata, screenshots, and privacy policies (30 Days Coding).
-
Uploading the Release Build and Managing App Versions
Upload your prepared release build via the Google Play Console. It’s vital to manage and adhere to your app versioning to avoid conflicts with future updates.
-
Reviewing and Publishing the App on the Play Store
Once uploaded, your app will go through a review process. After approval, your app will be available to the public, marking the successful deployment of your React Native app to the Google Play Store.
Implementing CI/CD for React Native
-
Importance of Continuous Integration and Continuous Deployment
CI/CD introduces automation in building, testing, and deploying your app, which enhances both reliability and project velocity. Automating these steps reduces human error and streamlines the release process, making updates and maintenance more manageable and less risky.
-
Setting Up CI/CD Pipelines for Automated Building and Testing
Tools like GitHub Actions, CircleCI, and Bitrise are great for setting up CI/CD pipelines. They handle automation for building, testing, and even deploying your app based on the latest codebase commits, providing a robust workflow that continuously checks integration and deployment stages for errors or conflicts. To leverage advanced integration techniques, explore Unleashing the Potential of React Native App GitHub Repositories for Developers.
Best Practices for Deploying React Native Apps
-
Ensuring App Performance and Reliability Post-Deployment
Monitor your app’s performance continually using tools like Sentry or Bugsee. These tools help in capturing real-time crash reports and performance bottlenecks, allowing you to respond swiftly to any issues that might impact user experiences (Bugsee Guide). For comprehensive security measures, refer to Mobile App Security Best Practices: Protecting User Data and Enhancing App Performance.
-
Monitoring and Analytics to Track App Usage and Issues
Implementing analytical tools helps monitor user interactions and system performance, enabling proactive management of any identified issues. This approach helps in maintaining a smooth operational profile for your app post-launch.
Common Challenges and Troubleshooting
-
Addressing Common Issues Faced During Deployment
Common deployment issues can range from build failures to sign-in certificate problems. Thoroughly checking your app’s dependencies, environment setups, and testing outputs is essential for troubleshooting and clearing these hurdles effectively.
-
Tips for Debugging Deployment Problems
Establish clear, concise, and documented guessing mechanisms. Use logging extensively to understand and pinpoint failures accurately. Community forums and official documentation are invaluable for finding solutions to tricky problems .

Conclusion
Deploying your React Native app successfully involves meticulous preparation, optimisation, and implementing a robust set of deployment strategies. It’s important to leverage CI/CD for maintaining ongoing quality, and post-deployment analytics will help in keeping your app relevant and functioning optimally. Following the guidelines and strategies mentioned here will aid in the smooth deployment of your React Native app, ensuring a wide reach and consistent user experiences across all platforms (Bugsee Guide, React Native Publishing, 30 Days Coding). Stay vigilant and proactive by integrating user feedback and updates to continuously improve and adapt your app to meet user needs.
Frequently Asked Questions
1. What are the main benefits of using React Native for mobile app development?
React Native enables developers to build high-performance apps for both iOS and Android using a single codebase, reducing development time and ensuring a consistent user experience across platforms.
2. How do I optimise my React Native app for better performance?
Optimise your app by removing unused components, implementing code minification and obfuscation, and ensuring that all dependencies are up-to-date.
3. What is the difference between a debug build and a release build in React Native?
Release builds are optimised for end-users, removing development tools and enhancing performance, whereas debug builds include additional tools for testing and debugging during development.
4. Why is Continuous Integration and Continuous Deployment important for React Native apps?
CI/CD automates the building, testing, and deployment processes, increasing reliability, reducing human error, and speeding up the release cycle.
5. How can I monitor my React Native app’s performance post-deployment?
Use monitoring tools like Sentry or Bugsee to capture real-time crash reports and performance metrics, allowing you to address issues proactively.